![]() Estimating Edge’s team of experienced construction professionals and software engineers have developed the industry’s smartest takeoff and estimating software solutions for competitive estimates.
Estimating Edge’s team of experienced construction professionals and software engineers have developed the industry’s smartest takeoff and estimating software solutions for competitive estimates.
Don’t just estimate faster. Estimate better.®
- /
- /
- /
Adding Photos and Notes
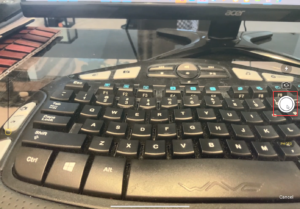
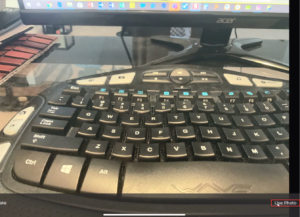
Any photo taken with an iPad will automatically save to the camera roll for that iPad.
Purpose: How to add Photos and Notes
How to add photos
- Tap on a page that you are working in.
- Tap on the camera icon on the toolbar.
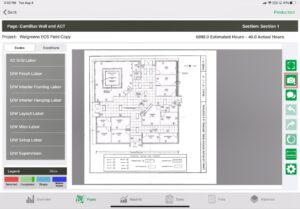
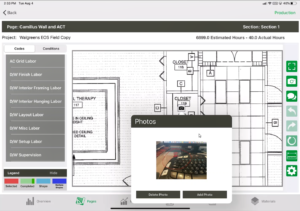
- A pop-up window will appear, the user can select up to 150 items from their camera roll or take a photo.
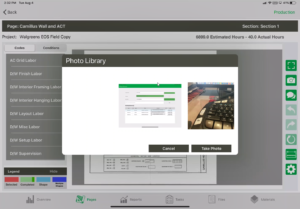
-
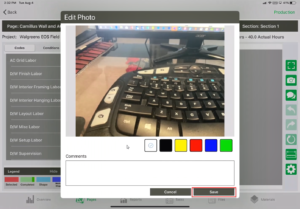
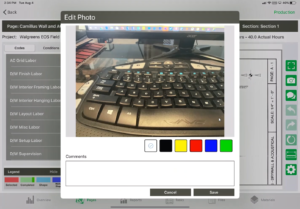
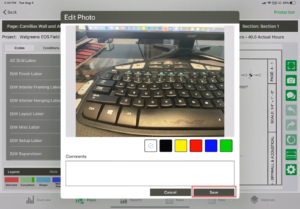
- If a photo is selected the user will see a pop-up of the image, where they can annotate the image or add a comment to it.
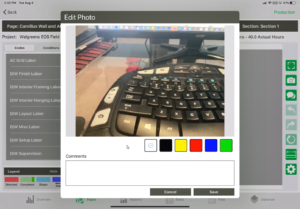
- Tap Save.
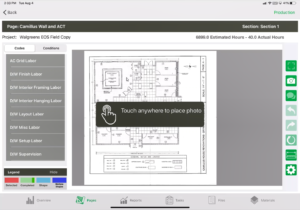
- Place the image on the page where it is relevant in real life. This is done by tapping anywhere on the blueprint. A clickable icon will be placed which will always show the photo when selected. It will be available in the portal as well.
- If the “Take a Photo” button is tapped.
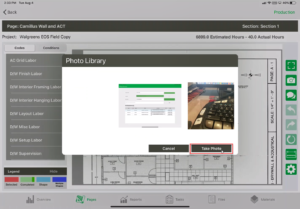
- A pop-up camera will appear.

- The user can take a photo.
- Tap Use Photo.
- A pop-up will appear to allows for annotations and comments.
- Tap Save when finished with annotations.
- Tap the image anywhere on the sheet.

- If a photo is selected the user will see a pop-up of the image, where they can annotate the image or add a comment to it.
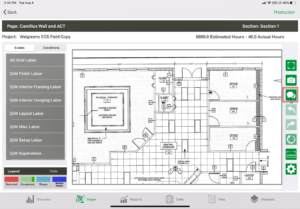
- Once the image is placed on the page. The user will be able to tap on the icon to add additional image or delete images.
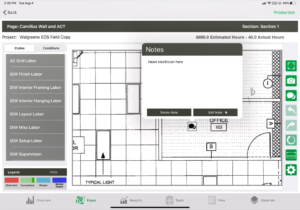
How to add notes
- Tap on the Notes icon in the toolbar.
- A pop-up will appear with the ability to add notes to the page.
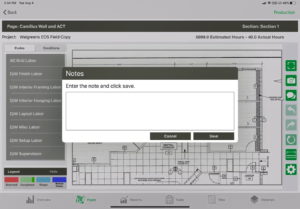
- Type in note and hit Save.

- Tap anywhere on the page to place the Note.
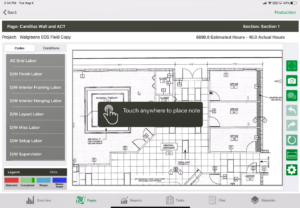
- Tap the note on the screen to view, edit, or delete the note.
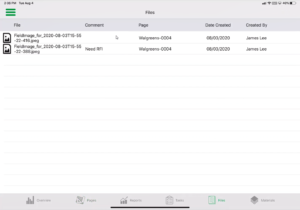
How to view images in files manager once they are uploaded.
- Tap on “Files” on the bottom toolbar.

- A list of all of the files will appear, the images uploaded on this project will appear here.
Note: Notes do not appear in the files. This files manager will also show any photos uploaded from the administration portal.